
I know of ways of making marbled effects with turpentine and I will post how we do that at some point as it is something Chiara wants to do again, but I was searching for a safer way. When I came across a way using shaving foam...
I experimented with this yesterday, we tried several things and all worked well with slightly different effects. If you want to try it out yourself you will need...
- Plain paper - we used a roll of paper
- A baking tray
- Shaving foam
- Food colouring or poster paints (or both)
- Glitter (optional but sparkly)
STEP ONE
Squirt shaving foam all over your baking tray at least 1 cm thick if not 2cm thick. If you have the gel like we did use your fingers to make it foam it up - my 6 year old thought this added to the fun!
STEP TWO
Smooth the foam down as flat as possible using your ruler...

STEP THREE
dot bits of food colouring or poster paint or both over your foam so it ends up looking a bit like this...

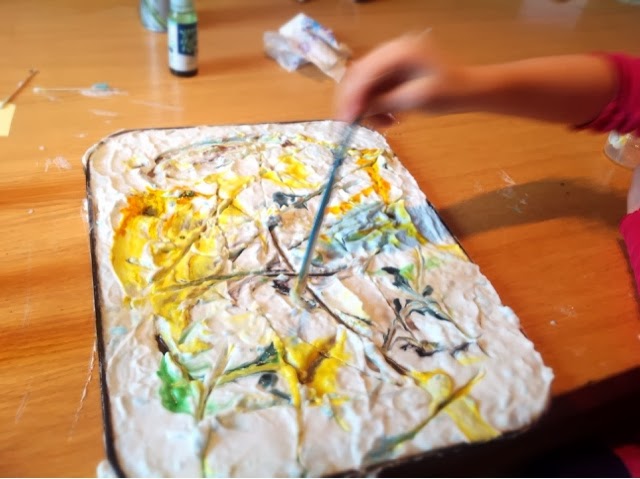
STEP FOUR
Using the end of a lolly stick or the hard end of a paint brush smear the colours around the foam like this...
STEP FIVE
Get your paper and place it gently on top and smooth down VERY gently on top of the foam.
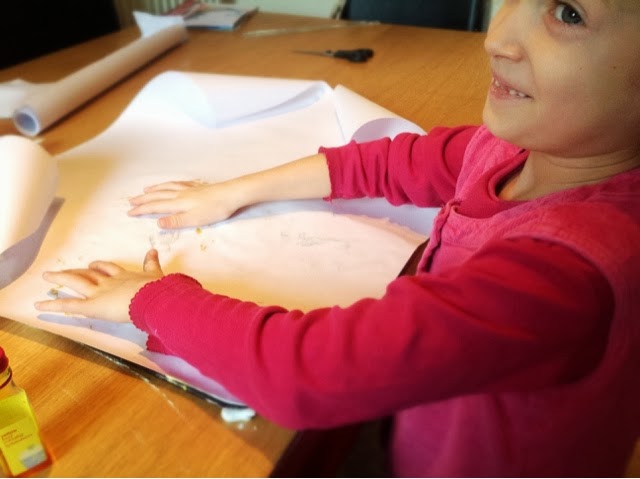
STEP SIX
Carefully peel the paper off again and foamy side up place on a clean bit of table next to your tray.
STEP SEVEN
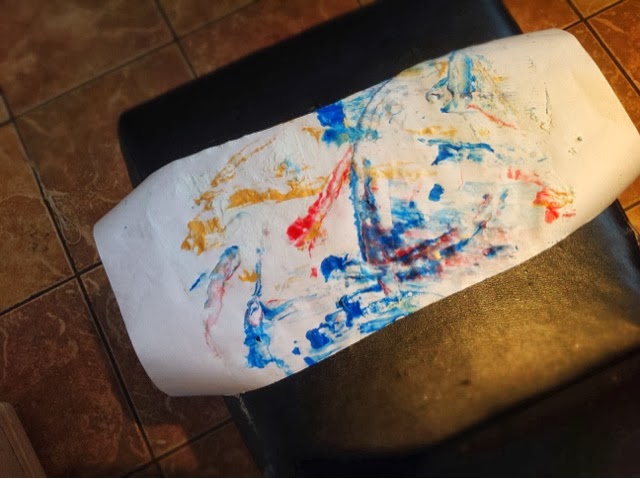
Using your ruler gently scrape all the foam off.
I say carefully because we found if you press to hard them holes will be made in your paper and you don't want holey wrapping paper!
STEP EIGHT
Let them dry then you are finished and ready to wrap up your presents!

You might want to sprinkle some glitter on after doing STEP FOUR before STEP FIVE but that is optional, it does give a lovely sparkly effect though.
No comments:
Post a Comment